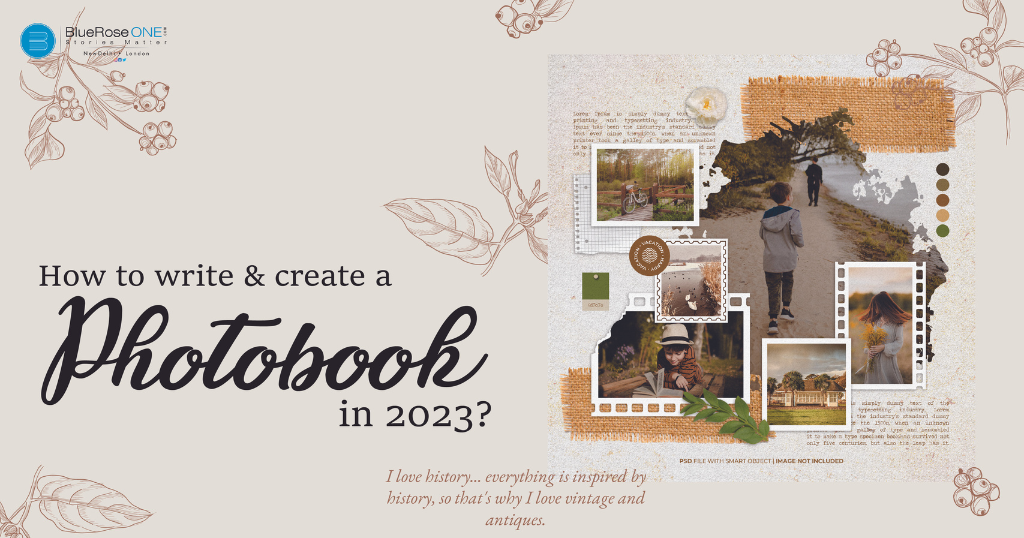
Photos have become an essential part of our lives in the digital era, documenting memories, experiences, and cherished moments. What better way to keep and share these memories than to make a beautiful photobook? This article will walk you through the process of producing a customised photobook in 2024, whether you’re a novice or trying to improve your photobook-making abilities.
Read: How to Write an Engaging Introduction for Your Book: Tips and Examples
We’ll cover everything you need to know to turn your digital and printed images into beautiful mementos, from choosing the best photos to designing layouts and adding text.
How Do I Make a Photobook for Beginners?
Creating a photobook is a creative and rewarding endeavour, even if you’re a beginner. Here are the essential steps to get you started:
- Select your photos: Begin by choosing the photos you want to include in your photobook. Organise them into categories or themes to help tell a coherent story.
- Choose a platform: Decide whether you want to create a photobook online through platforms like Mixbook, Shutterfly, or Blurb, or if you prefer a more hands-on approach by printing and assembling a physical photobook yourself.
- Layout and Design: Use the photobook platform’s templates or design your own layout. Arrange your photos in a visually pleasing way, considering factors like symmetry, balance, and the flow of the narrative.
- Add Captions and Text: Enhance your photobook with captions, personal messages, or even a narrative that provides context to your photos. This adds depth and meaning to your project.
- Editing and Enhancement: Edit your photos for brightness, contrast, and colour correction if needed. Most online photobook tools offer basic editing options.
- Order or Print: If you’re using an online service, follow the platform’s instructions to order your photobook. If you’re creating a physical book yourself, print your photos and gather materials like binding supplies, paper, and a hole punch.
- Assemble and Decorate: Follow the instructions to assemble your photobook. Add decorative elements like stickers, washi tape, or scrapbooking embellishments for a personalised touch.
Can I Make My Own Picture Book?
Absolutely! Making your own picture book is a creative project that allows you to tell a story or showcase your artwork and photography. Whether you’re a parent creating a children’s picture book, an artist displaying your portfolio, or someone wanting to share a collection of illustrations, you can follow a similar process to creating a photobook:
- Plan Your Concept: Determine the theme or narrative of your picture book. Outline the story or sequence of images you want to convey.
- Create Your Illustrations or Photos: If you’re an artist or photographer, produce the images for your book. Ensure they fit the dimensions and resolution needed for printing.
- Design your layout: Decide on the layout and arrangement of your images on each page. You can use software like Adobe InDesign or even Microsoft Word for layout design.
- Add Text (If Desired): Incorporate text, captions, or storytelling elements to complement your images.
- Printing: Print your pages on high-quality paper or cardstock. Consider professional printing services for the best results.
- Binding: Choose a binding method that suits your project, such as saddle stitch, perfect binding, or spiral binding.
- Assemble and Decorate: Follow the binding instructions and add any decorative elements to enhance the visual appeal of your picture book.
How to Make a Book with Photos and Text
Creating a book with photos and text combines storytelling and visual elements to convey your message effectively. Whether you’re crafting a family history book, a travel journal, or a cookbook, here’s how to do it:
- Plan Your Book: Begin by clarifying the purpose and theme of your book. Determine what message or story you want to convey through a combination of text and photos. Decide how these elements will work together to create a cohesive narrative that resonates with your audience.
- Gather Content: Collect all the necessary photos and text that align with your book’s theme. Organise these elements in a way that tells a compelling and logical story. Ensure that your text and visuals complement each other and flow smoothly throughout the book.
- Select a format: Choose the format that best suits your project. Decide whether you want a traditional printed book, a magazine-style layout, or a digital e-book. The format will impact the design and distribution options available to you.
- Design Your Layout: Utilise design software or templates to create your book’s layout. This involves arranging your photos and text in an aesthetically pleasing manner. Pay attention to factors like page composition, spacing, and visual hierarchy to create an engaging design.
- Add Captions and Text: Incorporate captions, headings, and body text where needed. These elements provide context, explanations, or enhance the storytelling aspect of your book. Ensure that the text complements the visuals and maintains consistency in style and tone.
- Editing and Enhancement: Take the time to edit your photos, adjusting colours, contrast, and clarity as necessary. Proofread your text meticulously to catch and correct errors. This step is crucial for ensuring the overall visual appeal and readability of your book.
- Printing or Publishing: Depending on your chosen format, you can either print physical copies of your book through a printing service or publish it digitally as an e-book or an online document. Each option has its own distribution and accessibility considerations.
- Share and Distribute: Decide how you want to share your book with your intended audience. Whether it’s friends and family or a wider readership, explore distribution options. For digital publications, consider online platforms or self-publishing to reach a broader audience, while traditional books may involve physical distribution or sales
How to Make a Photo Book Online
Creating a photo book online is a convenient and user-friendly option. Follow these steps to make your photo book:
- Choose a Platform: Selecting an online photo book service is the first step. Popular platforms like Mixbook, Shutterfly, or Blurb offer user-friendly interfaces. Sign up or log in to your chosen platform to access their tools and services.
- Select a Template: Once logged in, explore the available templates or themes. Templates provide pre-designed layouts for your photo book. Choose one that complements the style and purpose of your project, whether it’s a family album, travel journal, or special occasion book.
- Upload Your Photos: Import your photos into the platform’s photo library. To keep things organised, create folders or collections that match the content of your book. This step ensures easy access to your images during the design process.
- Design Your Layout: Start building your photo book by dragging and dropping your images into the selected template. These templates often include pre-set layouts for different pages. Customise the layout, backgrounds, and embellishments to match your vision.
- Add Text: To provide context or enhance storytelling, include text. Most online platforms offer text tools that allow you to add captions, titles, and descriptions to your photos. Adjust fonts, sizes, and colours to suit your design.
- Editing and Enhancement: Use the built-in photo editing tools to enhance your images. You can adjust brightness, contrast, saturation, and more to ensure your photos look their best. This step helps to correct any imperfections or enhance the overall quality of your pictures
- Preview and Review: Before finalising your order, carefully review your entire photo book. Pay close attention to detail, checking for errors like typos, layout issues, or any misaligned elements. Many platforms offer a preview feature to help you visualise the finished product.
- Order Your Photobook: Once you’re satisfied with the design and content, proceed to order your photo book. During this step, you’ll choose the book’s size, cover type (hardcover, softcover, etc.), and quantity. Be sure to double-check these options before confirming your order.
- Delivery: After placing your order, the platform will typically provide an estimated delivery date. You can expect your beautifully printed photo book to arrive at your doorstep. Once it’s in your hands, you can enjoy it as a keepsake or share it with friends and family.
In 2024, making a picture book is a fantastic way to preserve memories, tell tales, and demonstrate your talent. Whether you’re a novice or an expert, the process requires careful planning, deliberate design, and attention to detail.
Read: What is Typesetting: A Complete Guide to its Uses, Definition, and Importance
You may create customised picture books that capture the spirit of your beloved memories and experiences by picking the correct photographs, combining them with complimentary text, and using internet platforms or DIY approaches. So grab your camera or go through your digital archives and start turning your photographs into lovely mementos.


